Canoe 001
"Stripping"
the Hull
the Hull
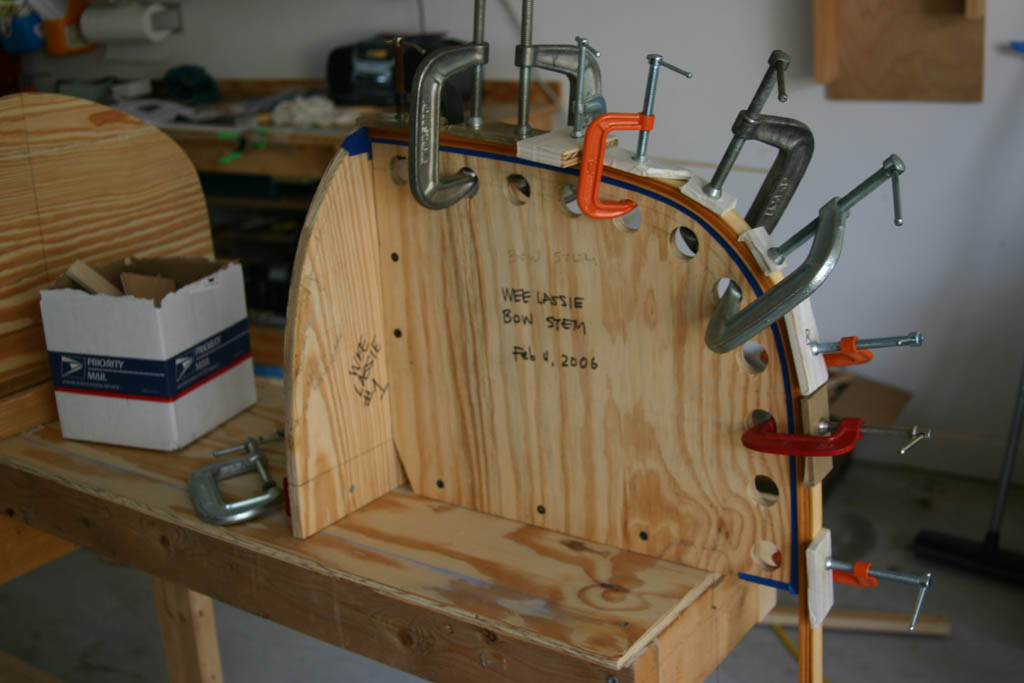
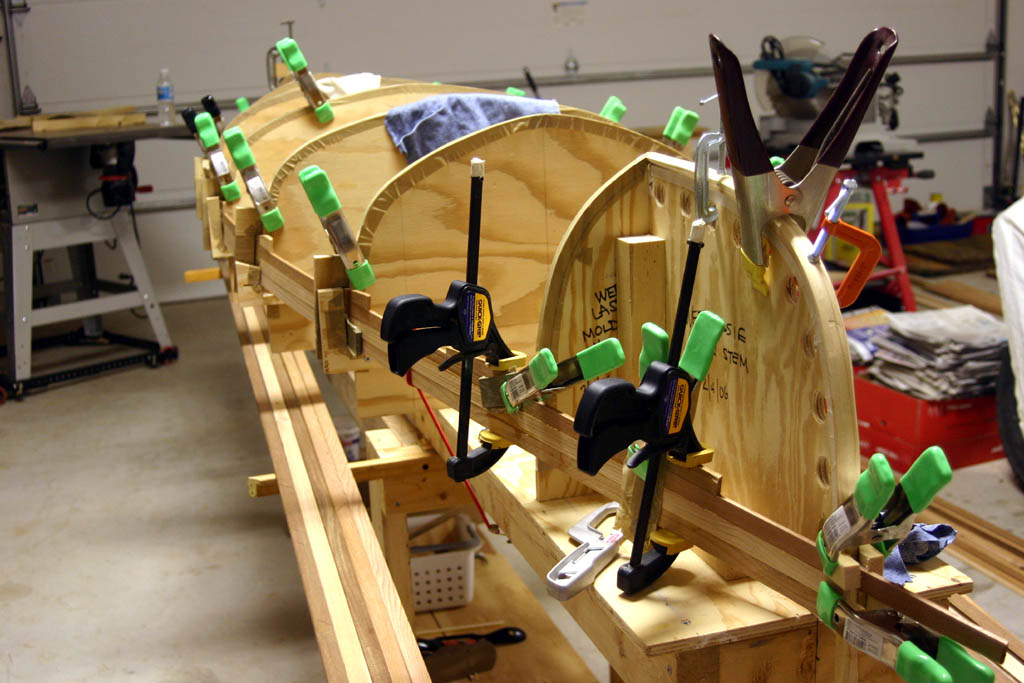
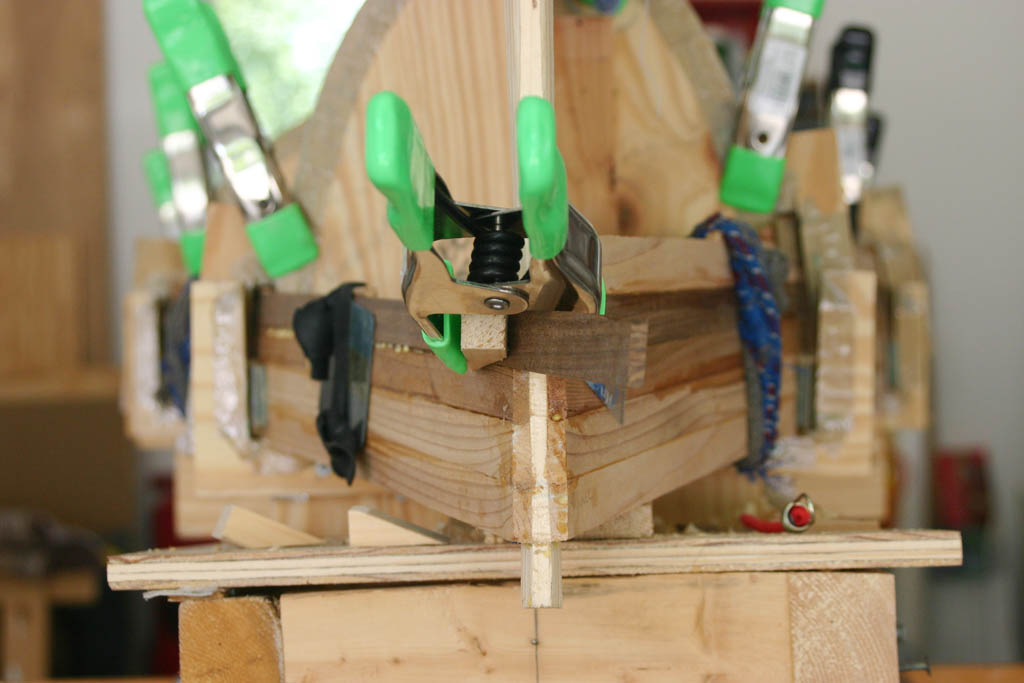
Laminating The Inner Bow Stem
Clamping Slots
I should have cut clamping slots in the section molds before attaching them to the strongback. I didn't realize I would need the slots until I started adding strips to the tighter curve of the hull.
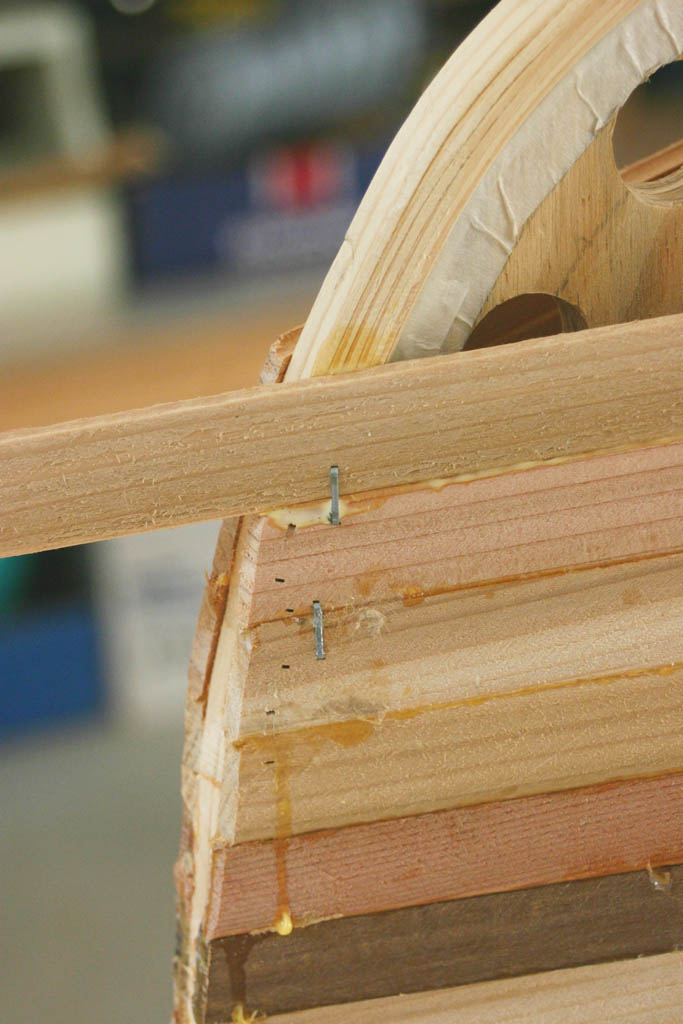
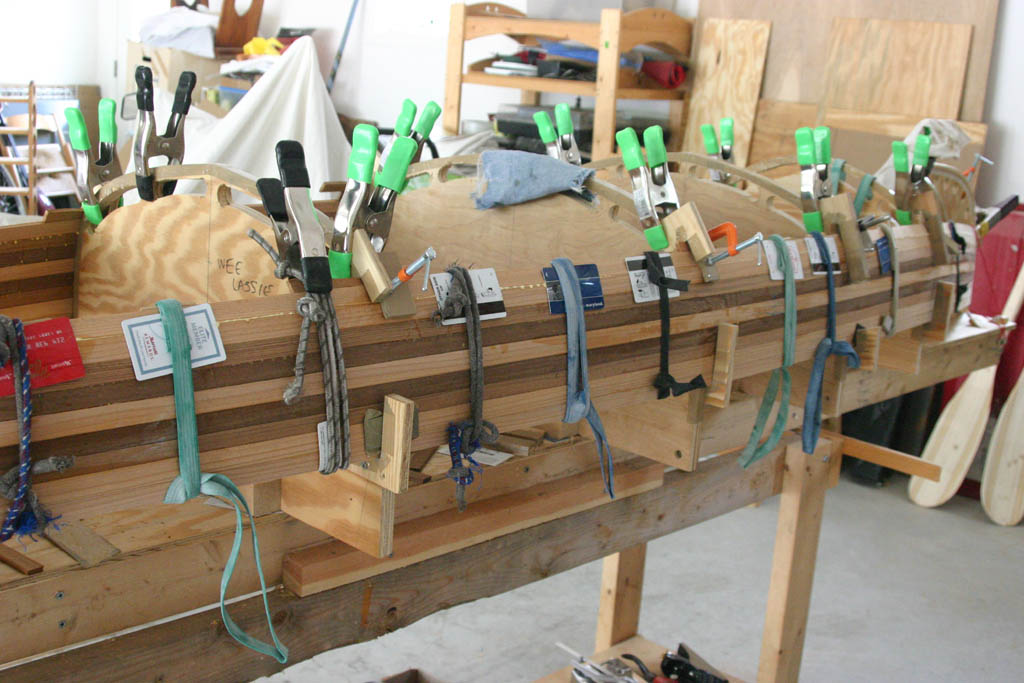
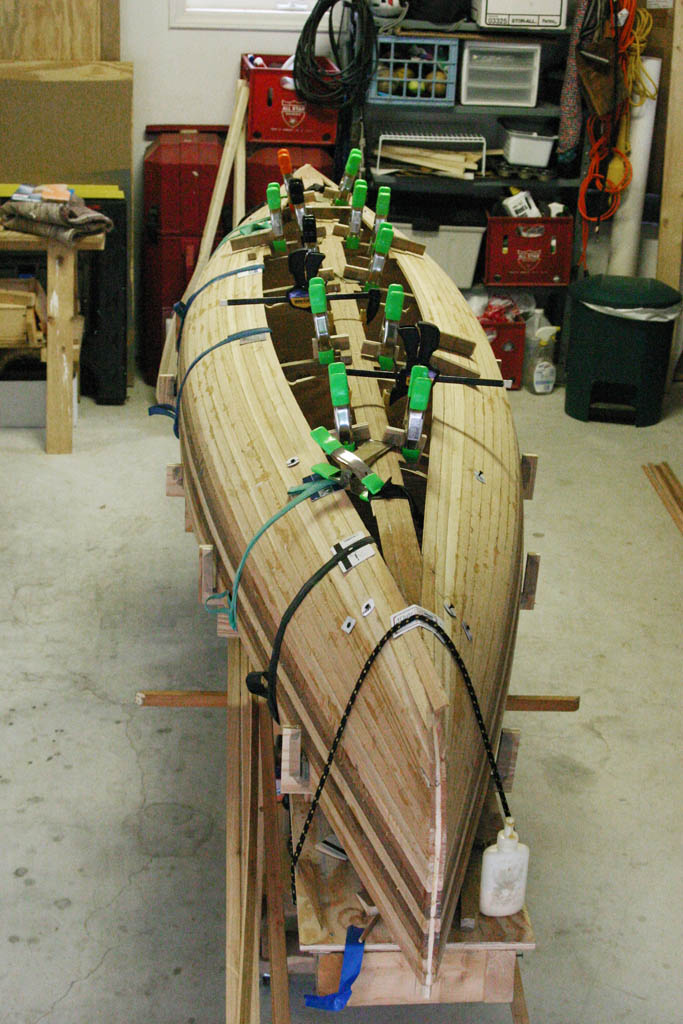
Staples
On parts of the hull, the strips do a lot of twisting and bending. I didn't want to use any staples but some were necessary to hold some strips in place. The staples will be removed when the glue dries but the holes will be visible - ugh.
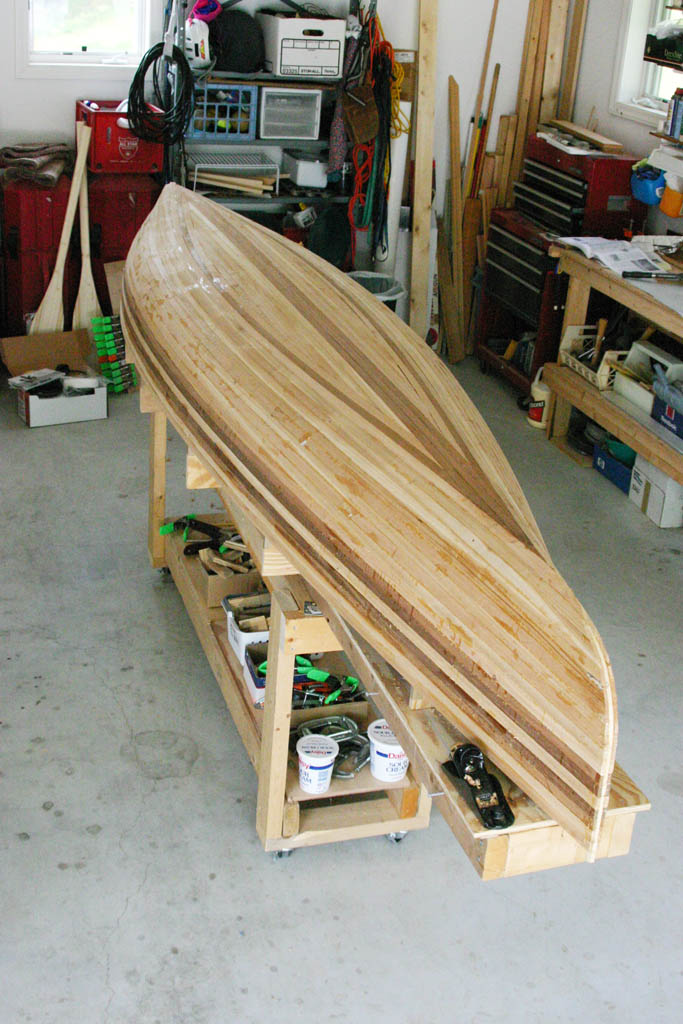
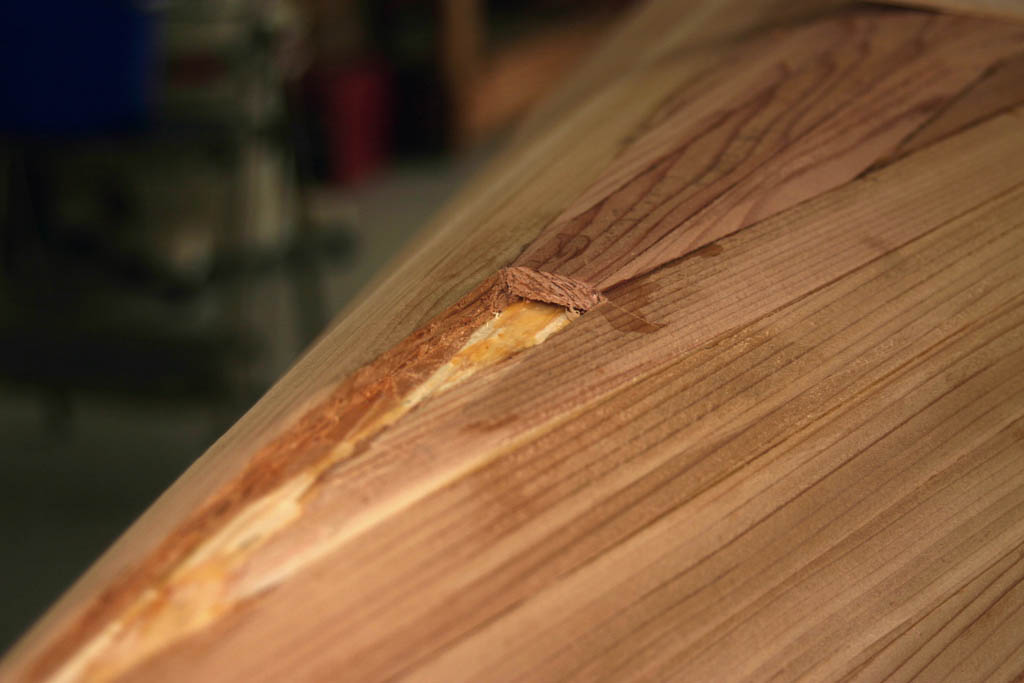
The bow and stern stem areas are sanded flat in preparations for laminating the outer stems.
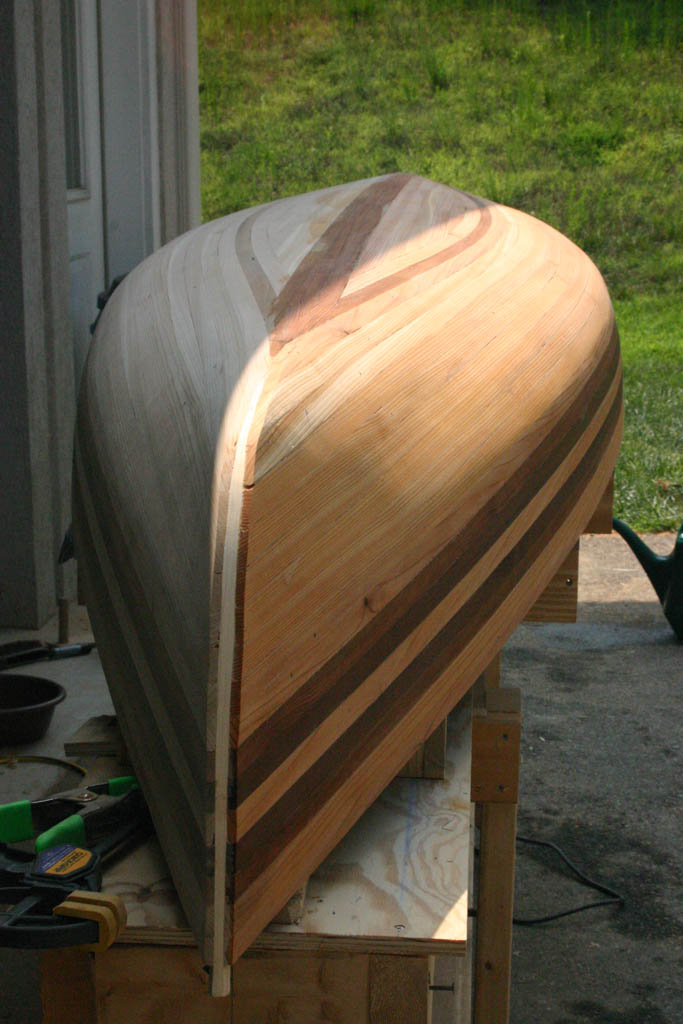
At this point, it seems like the canoe is almost finished, but it's actually only about 1/3 done.
Blackwater River Guitars
Strip Built Cedar Canoe (#001)
Page 2: "Stripping" the Hull
Inner Stems
The first step in building the hull is making the bow and stern inner stems. These will support the outer stems, the parts of the boat subject to the most abuse, like scraping and hitting rocks.
I made the inner stems from several laminations (7 or 8) of pine, each about 1/16" thick.
Photo left column: As you can see, the bow (and stern) stem forms have holes for clamping. The stem form edges are covered with tape so the inner stem laminations won't stick to the forms.
None of the forms become part of the finished canoe, but the inner stems become part of the hull.
The strips that become the hull will be glued to the inner stems.
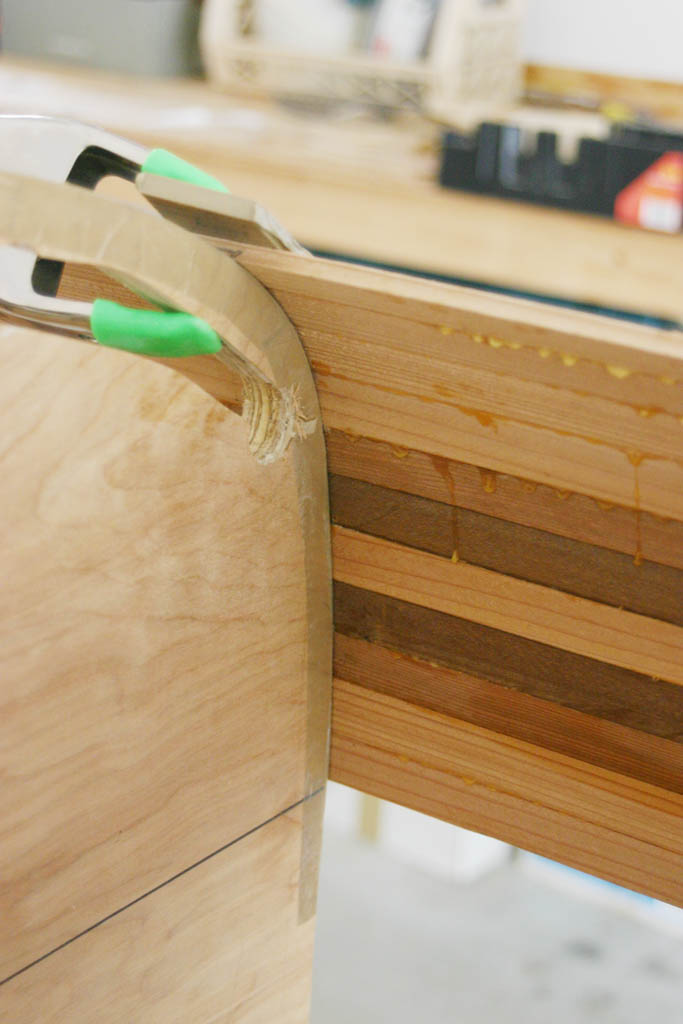
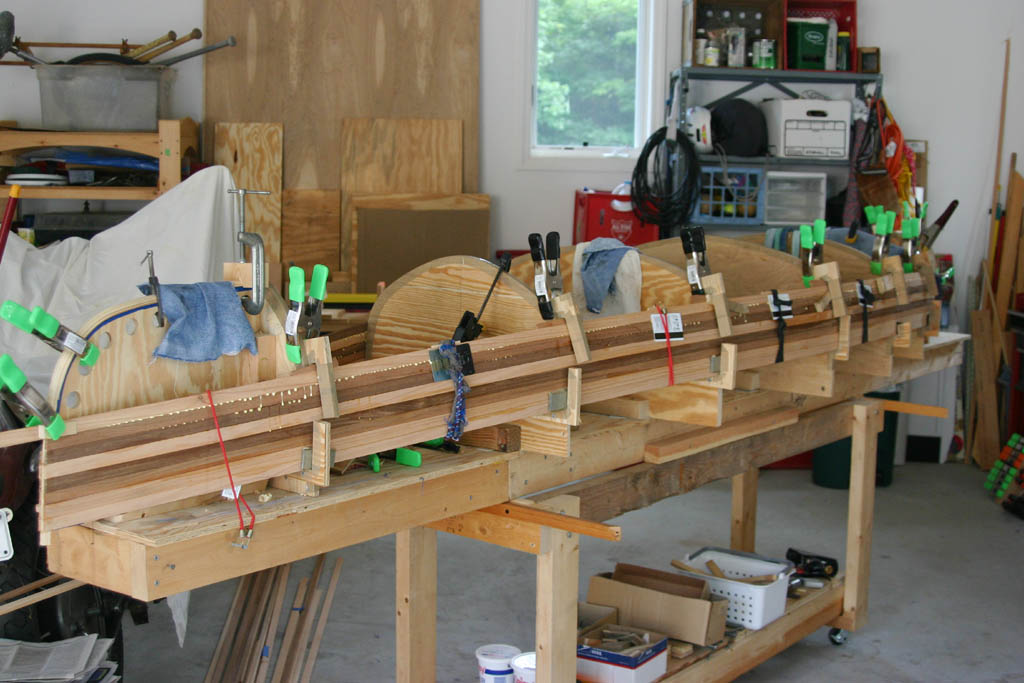
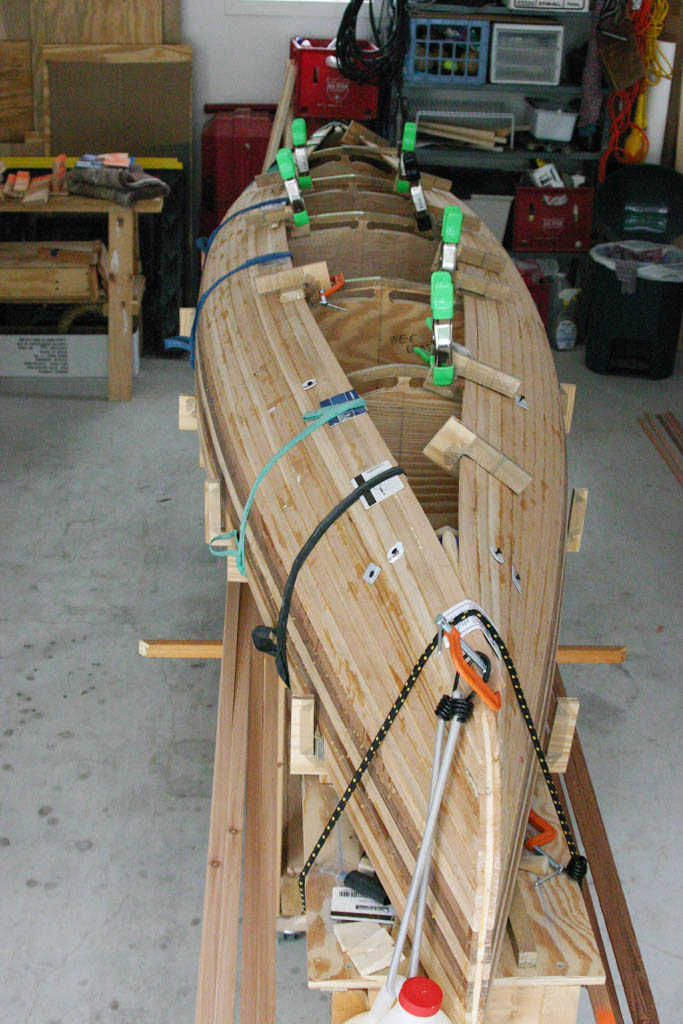
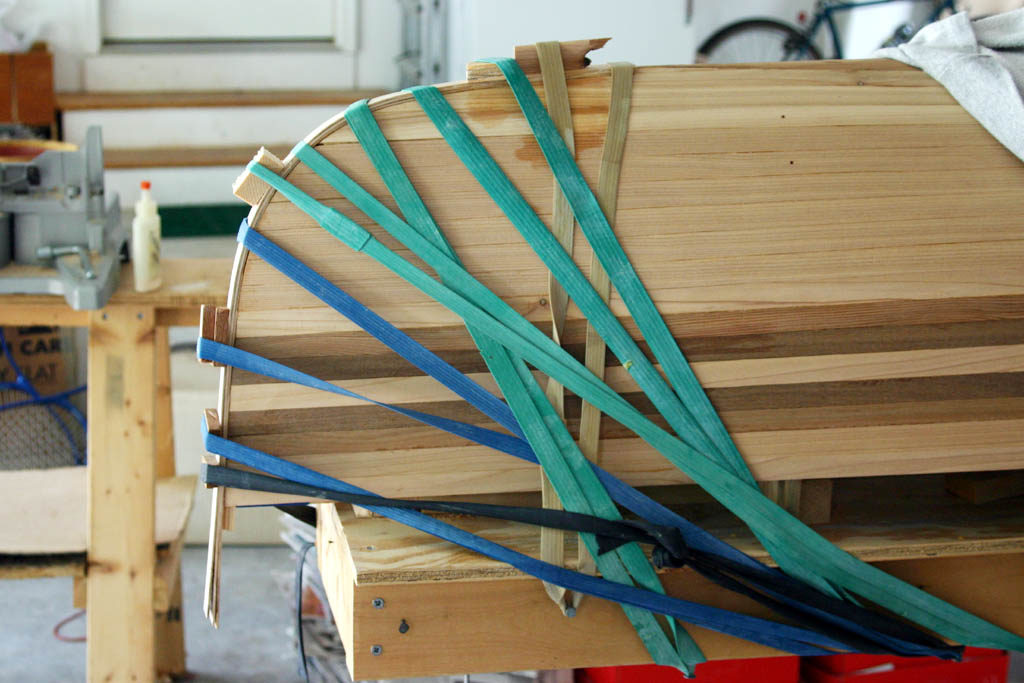
Stripping the Hull
The photos below show the sequence of "stripping" the hull, building the hull up from the thin cedar strips.
Click on a photo to see a larger image.


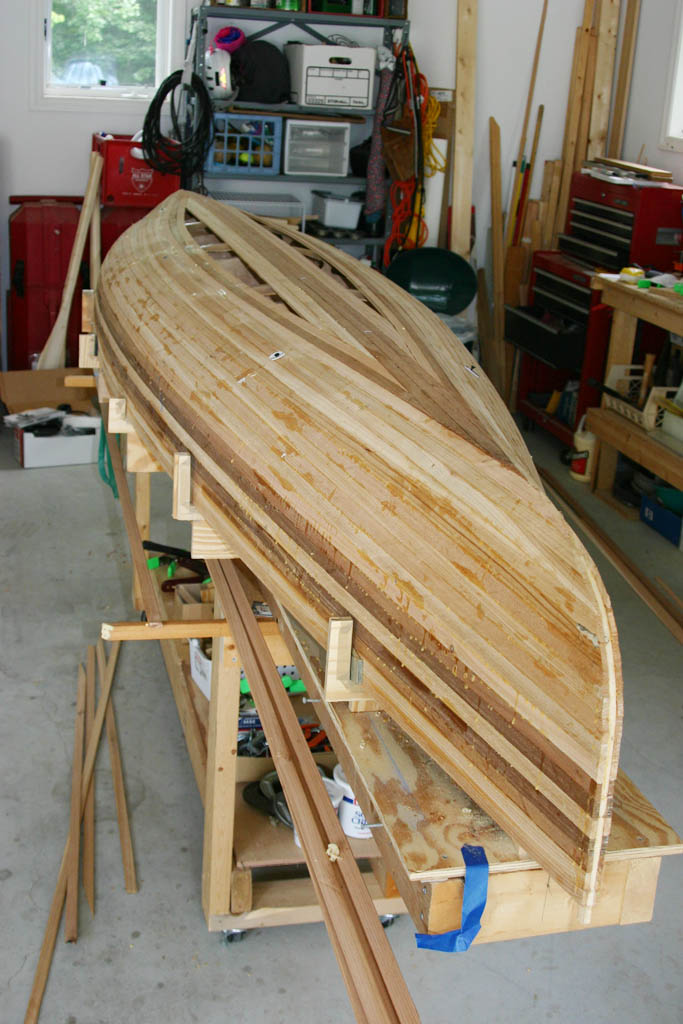
Filling the "Football" Bottom
The Outer Stems
The outer stems are made from laminations of a hardwood, in this case, 8 layers of ash. To attach the outer stems, the bow and stern are cut and sanded to a flat face from the sheer line toward the bottom.
Below left: The stem near the bottom is chiseled out to accept the outer stem laminations.
Below right: Test fit of the first lamination layer.

Below left: The 3rd (of 8) lamination is glued and clamped.
Below right: the laminated outer stem is planed and faired smooth to the hull shape.

Next Page: Fiberglassing the Hull